HOW TO CREATE A RESTORE POINT IN WINDOWS 11
Learn how to create a restore point in Windows 11 with our easy guide. Safeguard your system and data by setting up this essential backup feature today!
INTRODUCTION:
Are you concerned that you might unintentionally alter the Windows 11 system and get into problems? Creating a restore point is a fundamental step in protecting your computer, allowing you to go back to a previous state if something goes wrong. We'll guide you through the fundamental procedures to create a restore point in Windows 11 in this easy-to-understand article, ensuring mental peace and system security.
What is a restore point and why should we create one?
A restore point could be a snapshot of the registry settings, installed applications, and computer system files at a specific moment in time. It acts as a safety net, allowing you to restore your system to a previous version if modifications or the installation of new software cause problems. Creating restore points regularly is essential to protecting your system and ensuring that you can quickly recover from unexpected errors or problems.
Why Create restore points?
• Security Net for Changes: Adjusted a setting that resulted in problems. Restore points can reverse such modifications and let you resume your course.
•Software Disasters: Do you want to install a program that disrupts your system? Restore to a point to resolve the matter to some extent before installation.
• Peace of Mind: It's comforting to know that you have a backup plan in place in case of unexpected disruptions.
Step-by-Step Direct Guide: How to Create a Restore Point in Windows 11
To create a restore point, there are two primary methods:
Strategy 1: Make use of the system protection from the control panel
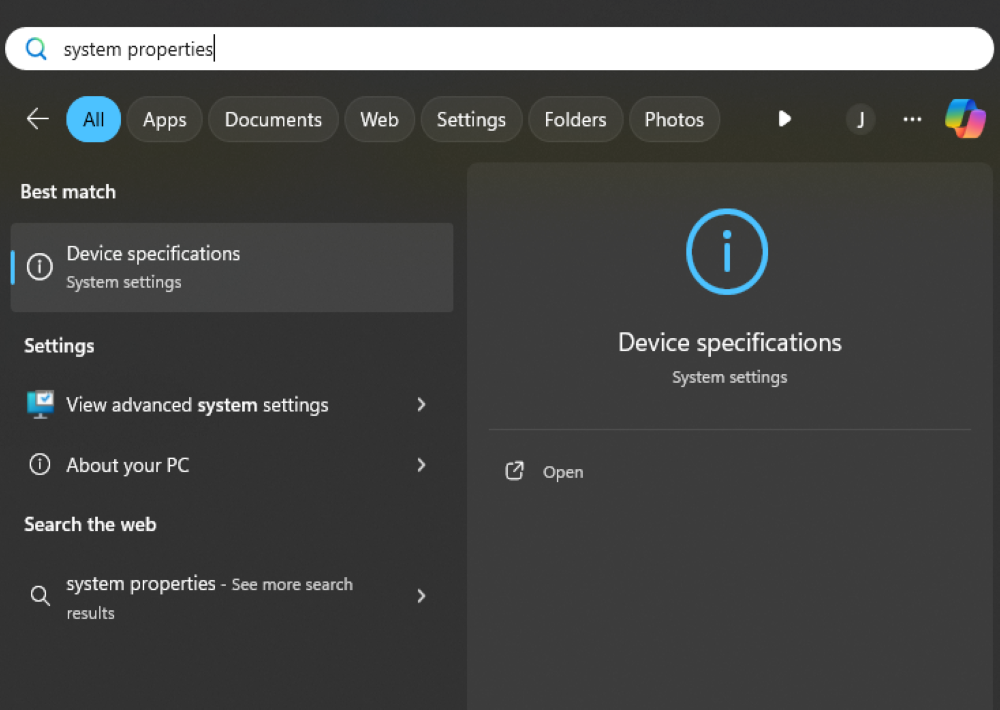
Step 1: Access System Properties:
• To access the Start menu, press the Windows key on your keyboard.
• To open the System Properties window, type "System Properties" and hit Enter.
OR
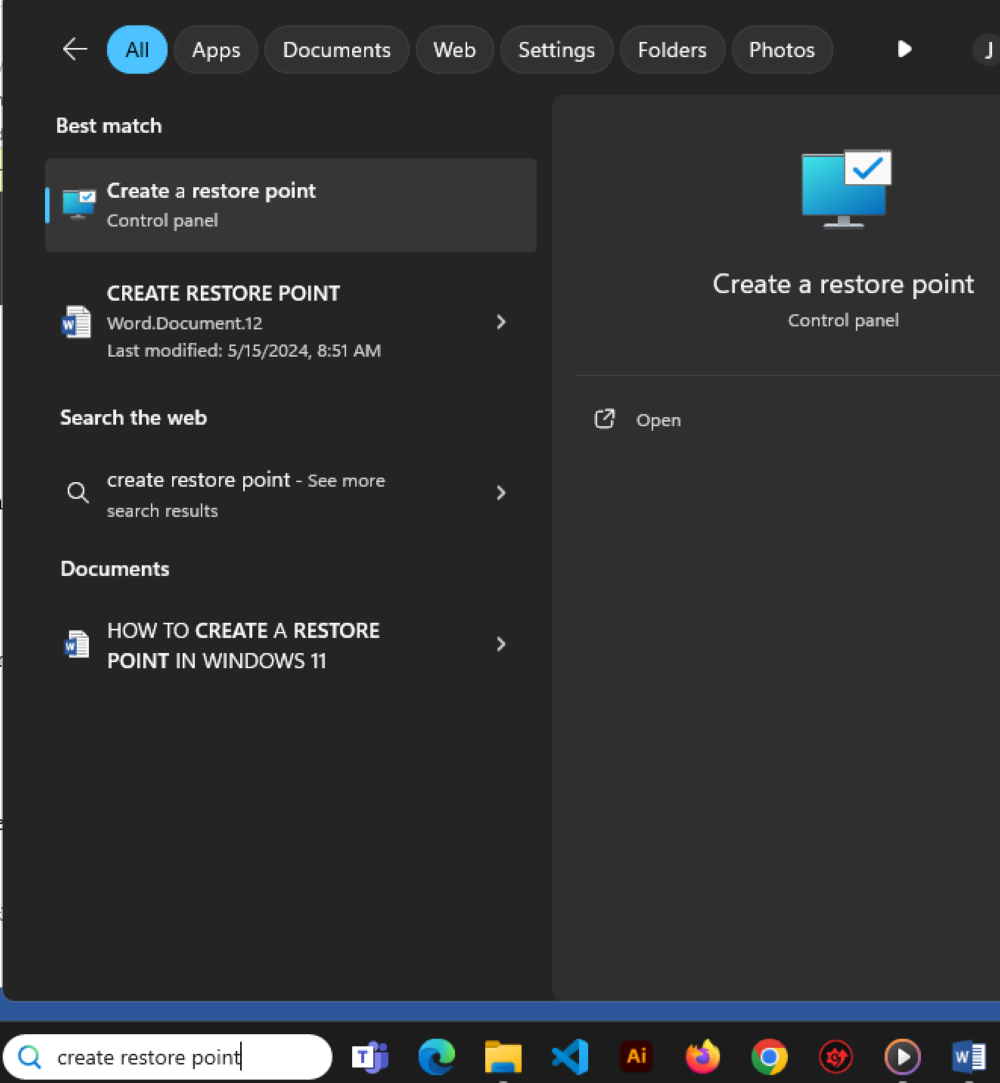
Search for the phrase "Create a restore point": Select the Start Menu and type “Create a restore point” in the search bar.
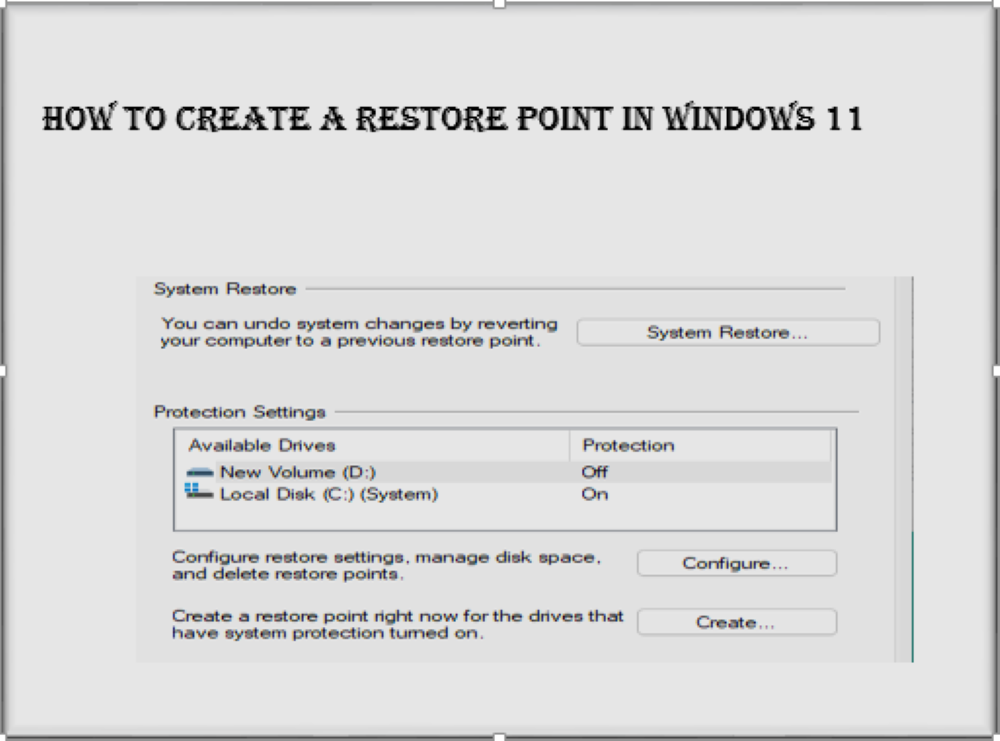
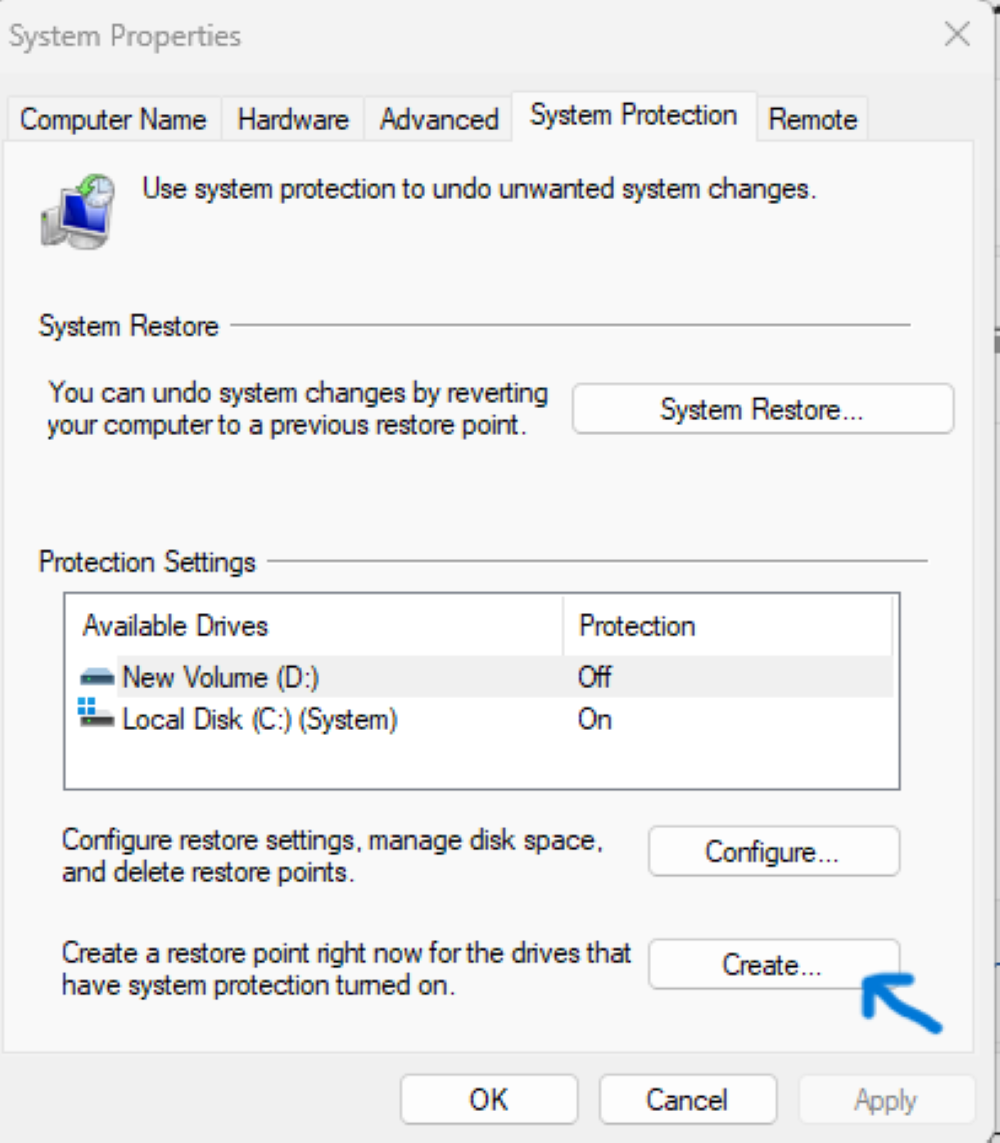
Step 2: Access System Protection
In the System Properties window, select the “System Properties" tab, which is located near the top.
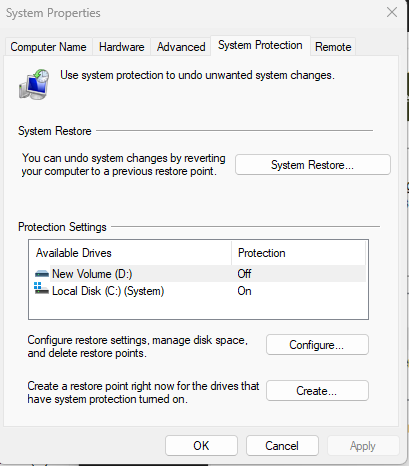
Click "Create" to create a new restore point.
Step 3: Name your Restore Point
Give your restore point a catchy title in the "Create a restore point" window. If and when you want to use it, this will help you identify it further.
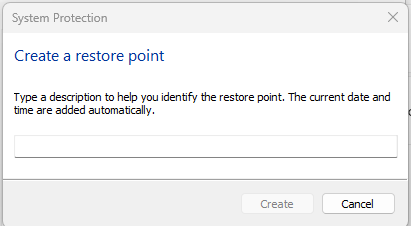
Create the restore point:
To initiate the process of creating the restore point, click the "create" button. It will take a moment for Windows 11 to create the restore point.
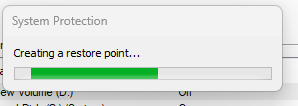
Step4: Await the Restore Point to be created
- Windows will now create a restore point; this could take a while, depending on how quickly your system processes data and how much of it.
- After the procedure is finished, a notice confirming the successful creation of the restore point will appear.
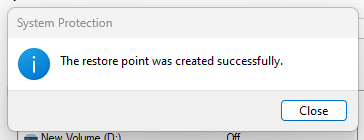
Step 5: Close the window
To exit the "System Properties" window, click “close”.
Congratulations! You have successfully created a restore point in Windows 11
Strategy 2: Using System Protection from the Control Panel (Alternative Path)
Open Control Panel: Click on the Start Menu search bar and type "Control Panel" to open the Control Panel. Choose the appropriate option to launch it.
System and Security: Locate and click the "System and Security" category in the Control Board.
System: Go to the "System and Security" menu and select "System."
System Protection: Locate and click "System Protection" on the left-hand side of the "System" window. This leads to the screen where Strategy 1 (steps 3 and up) is displayed.
After creating a restore point, you may relax knowing that you have a safety net in place in case there are problems with the system.
Tip to remember:
It's a good idea to create restore points before performing important system modifications, such as updating drivers or installing new software. In this manner, you may simply revert if something seems incorrect.
CONCLUSION:
Creating a restore point in Windows 11 may be a simple but important step in protecting your system and ensuring that you can recover from unanticipated errors or problems with ease. By following these steps, you can quickly create restore points and feel confident knowing your system is backed up. Thus, take a moment to create a restore point right away, and you can be sure that your Windows 11 system is protected from any unforeseen problems.
Thanks for reading.
If you like the article, consider sharing and subscribing. ;)