A STEP-BY-STEP GUIDE TO SETTING UP YOUR WIRELESS NETWORK FOR OPTIMAL CONNECTIVITY
A guide on how to establish a seamless wireless connection, transforming your home or workspace into a cable-free oasis. From choosing the right equipment to navigating the router's labyrinthine settings.

INTRODUCTION
In the fast-paced world, a fully functioning wireless network is required to ensure continuous connectivity. Configuring a wireless network of your own may be like traversing an intricate, labyrinthine maze with blinking lights and cryptic terms. A gadget lover traveler, do not be afraid for a moment! However, this article allows you to get knowledge and directions on how your dream digital paradise with lots of smooth Wi-Fi can be created, whether it is for work or simply consuming media.
NECESSARY EQUIPMENT REQUIRED FOR SETTING UP WIRELESS NETWORK
Before starting your network-building journey, make sure you have the following supplies:
Router:
The conductor of your wireless ensemble is the router, which regulates data transfer between your devices and the internet.
Invest in a router of optimal quality as one that can provide you with the internet connection speed level and is compatible with modern wireless standards.
Ensure that the devices you use are compatible with the router model of your choice at all times.
Modem:
The modem acts as the guardian of the internet, changing ISP-specific signs into signals that your router can understand. While many ISPs offer modems, check if you need a separate one.
Ethernet cables:
The digital highways that run between your modem, router, and possibly to the computer at start-up configuration. Typically, regular cables are enough but in the case of specific needs refer to manufacturer guidelines.
Instruction manuals:
Your trusted trip guides, deliver essential information regarding the specific arrangements of your modem and router.
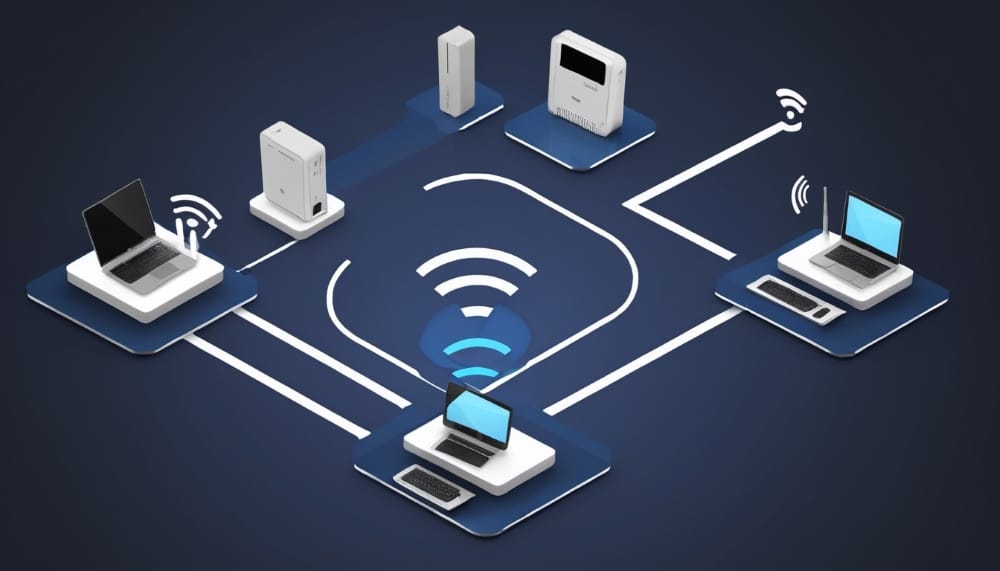
SETTING UP YOUR CONNECTION
STEP 1: CONNECTING THE HARDWARE WHEN SETTING UP THE WIRELESS NETWORK
Modem mania:
Look for the modem’s internet port (often referred to as WAN or Internet) and connect it with an internet cable your ISP provided you. Use a snug twist to tighten the connection.
Router, Connection:
· For uniform coverage across your home or business establishment, place the router in a centrally located area.
· Do not place your router next to other electronic devices or objects that might interfere with the signal.
· The power adapter for the router should be plugged into a wall socket. Look for the internet port (often labeled as WAN, Internet, or Uplink) and use an Ethernet cable to connect it to your modem.

PC Pitstop (not required):
However, it is more secure to connect the PC directly through an Ethernet connection for initial settings. Connect an Ethernet cable from one of the LAN ports on the router to your Ethernet port.
STEP 2: POWERING UP THE WIRELESS NETWORK
Modem:
Once turned on, look out for the steady state of your modem’s lights that indicate a good connection.
For more specific definitions of light codes, consult your manual.
Router:
Switch on the router and allow it to settle its light. It will take a few minutes, therefore be patient.
STEP 3: CONFIGURING THE COMMAND CENTER: ACCESSING YOUR ROUTER’S SETTINGS
Let the network gates open:
Enter the IP address of your router in an internet browser on your PC.
This information should be in the router handbook or on a sticker attached to the hardware itself. Typical default addresses include 10.0.0.1 and 192.168.1.1.
Password for login:
Here you need to enter the router’s password and username.
They should be in the handbook or on a sticker as well.
Usually, the defaults are "admin" for both if they haven’t been modified.
Welcome to the dashboard:
You have reached the command center of your network! Let out a digital sigh—the most daunting part is behind you.
STEP 4: SETTING UP YOUR WI-FI NETWORK
· Name of the network:
Give your network a clever and memorable name that will stand out among the Wi-Fi signals of people with whom you live.
· Safeguarding passwords:
Your SSID should be unique along with the secure password.
The combination of capital and lowercase letters, numbers, as well as symbols makes a strong password that secures your network from unauthorized attacks.
· Fine-tuning of frequencies: Setting up wireless settings
Select the appropriate frequency band.
Most of the routers work on both 2.4GHz and 5 G Hz frequencies. This is because 5GHz gives faster speeds with restricted coverage, while the latter offers better transfer rates but a wider area. Choose the band according to your needs and coverage.
· Modify the channel's settings: Select the most suitable channel for your router to minimize interference from nearby networks.
· Increasing the wireless range:
Employ extenders of range: Place range extenders in a way that will help improve the coverage of larger places.
Think about mesh networks: Invest in a mesh network that will enable connectivity between several access points without interruption.
· Driver and firmware updates:
Firmware updates for routers: Make regular firmware upgrades and backups to ensure the best security and performance.
Updates for device drivers: You should update the wireless drivers on your devices to have greater compatibility and efficiency.
· Sentinel for Security:
However, if you need the highest encryption level and security from data leakages, use a strong security protocol such as WPA3 or WPA2-PSK (AES).
Change the default login details for greater security. To do so, just alter the default username and password on your router. The band for you to select depends largely upon requirements as well as the coverage you need.
Set MAC address filtering to on so that only specific devices can access your network.
· Configuring Quality of Service (QoS):
Set traffic priorities: To make the user experience more convenient, create QoS rules to allocate priority for specific applications or devices.
Manage your bandwidth: Share bandwidth among several different devices/uses well.
STEP 5: MONITORING NETWORK TRAFFIC
Employ tools for network monitoring:
Notice how much data is consumed and check if any applications may require a significant amount of bandwidth.
Determine which unauthorized devices to eliminate:
Ensure that unauthorized access does not occur as a result of devices connected are checked regularly.
STEP 6: TROUBLESHOOTING TIPS:
Identify problems with the built-in tools: Use the diagnostics that are integrated into these devices to locate and address connectivity problems.
Restarting the router: Restart is a simple solution for most common issues.
STEP 7: DISCONNECTING THE CABLE CRUTCH: GOING WIRELESS
Once you are satisfied with the configuration, get back to your newly created Wi-Fi network and disconnect from the Ethernet connection of your PC if any.
So just enter the password that you already set and it does work!
Wirelessly, you are sailing on the digital sea.
ADVANCED WIRELESS CONNECTION
Activating the guest mode:
Provide internet to guests without compromising the security of your main network.
Create a separate guest network with different credentials and limited access.
Chasing channels:
If there is interference, you can change your router’s Wi-Fi channel yourself. Programs like "NetSpot" (Mac) or “WIFI Analyzer” (android) can help in the identification of congested channels.
Updates to the firmware:
For maximum security and performance, update the firmware on your router.
CONCLUSION
By following the detailed instructions provided in this article, you can establish a reliable wireless network that meets all your digital needs. Connect with ease, enjoy a well-optimized wireless network, and enhance your online experience. Use this guide to your advantage and get networking!
Thanks for reading.
If you like the article, consider sharing and subscribing. ;)