A BEGINNER’S GUIDE TO CUSTOMIZING YOUR WINDOWS DESKTOP
Unlock the full potential of your Windows desktop experience with our comprehensive guide on customization. Learn step-by-step instructions on personalizing your desktop appearance, optimizing settings, and adding functionality.

INTRODUCTION
Are you bored of getting the same desktop screen again and again? So long beige, and hello your very own paradise! Personalizing your desktop is a great way to improve usability with more than mere functional possibilities but also along fun. Your desktop is your digital heaven. In this step-by-step tutorial, we will demonstrate how to personalize your Windows desktop in a way that reflects your sense of style and boosts efficiency. So, let’s pretend we are holding our brushes (fantastically speaking) and use Windows personalization to decorate the town (virtually really).
A STEP-BY-STEP GUIDE ON HOW TO PERSONALIZE YOUR WINDOWS DESKTOP
STEP 1: Reaching the Personalization Settings:
First, right-click on a space on your desktop.
From the drop-down list, select “Personalize”.

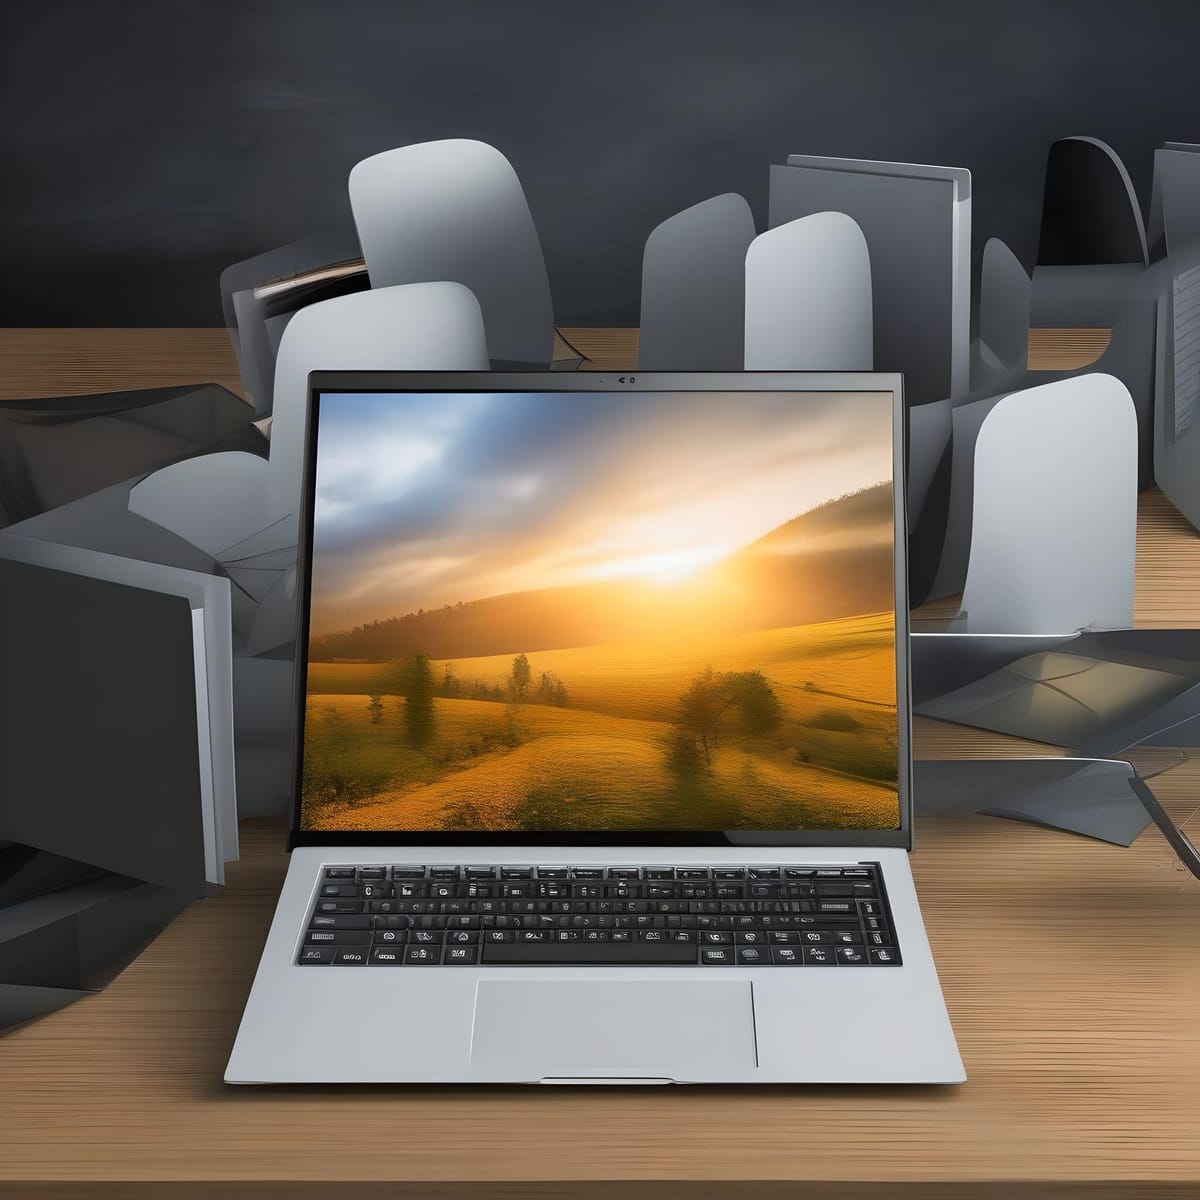
STEP 2: Select a Background:
Are you tired of looking at that same picture? Not a problem!
In the personalization setting, Click "Background" and browse through stunning landscapes, artsy patterns, or even your cherished photos. You can make your desktop a digital photo album or choose a calming image to soothe your eyes.

STEP 3: Select a Color Scheme:
There is a wonderland of pre-made themes available in the “Personalization” settings. Try out a nature-inspired one to start with since the environment is peaceful and calm it shall leave your mind at ease, making way for new ideas that will light up another area of real estate as people live in its interiors.
Go to the Colors tab. You can select the color scheme of your choice, or if you let Windows choose for you then it will automatically take a corner accent color from your background. Print a single color for sophistication, or inject some bright colors if you want frivolity.

STEP 4: Customize Lock Screen:
Click “Lock screen” under Background.
Pick an interesting image or a slideshow for your lock screen.

STEP 5: Sound effects and themes:
See the “themes tab” of the menu item.
Select the default themes or create your own using the settings by adjusting the background, images of music, color, and so forth.

STEP 6: Desktop Icons:
Once you choose “Themes,” click on desktop icon settings.
You may change the appearance of your icons on your desktop or order those that should be displayed.

STEP 7: Taskbar Adjustments:
Right-click a blank space on your taskbar.
To change the appearance, location, and associated functions of the taskbar click on “Taskbar settings”.

STEP 8: In the Start Menu's Live Tiles:
Right-click on a space on your taskbar.
Choose the ‘Start’ option from the menu and work through right-clicking of tiles.
Tiles can be moved resized, and unpinned to change the Start menu.

STEP 9: Cursors and Pointers on a Mouse:
Click on the “Mouse pointer settings” from the Personalization menu to select it on the right.
The pointer style that you prefer, and if needed adjust the size.
STEP 10: Screen Saver:
Go to “Lock Screen” and click on ”Screen saver settings”.
After that, choose a screen saver and specify the time to wait before it is activated.
STEP 11: Invasion of Icons:
Are you tired of boring folders? Right-click and select “Change icon” when you want to browse for numerous funny selections.
Let your music folder become a guitar and document files into puppies, unique your style shines with every click.
STEP 12: Start Menu Showdown:
Have you ever been intimidated by the Start Menu? These can be personalized by right-clicking on the Start button and choosing “personalize”. After that, you may drag and drop it to move or resize it; enable specific apps as its quick access icons; and group Apps into separate app folders in line with user preferences. Make the Start Menu work for you in case not vice versa.
STEP 13: Widgets Go Wild:
Are you a fan of breakneck news? Click “News and interest” in personalization and add appropriate widgets for the weather; calendar, etc.
Customize the layout, choose your key interests, and watch international events changing live right from your desktop.
STEP 14: Fonts and Sounds
Feeling adventurous? Go into Personalization even further to change your lock screen, sounds, and fonts. There are countless options!
CONCLUSION
To sum up, personalizing your Windows desktop is a relatively simple yet quite successful technique to make an individual computer unique. According to the procedures described in this article, you will be able to personalize your digital workstation and turn it into a reflection of yourself. Experiment with a few layouts until you determine the perfect order that enhances appearance and functionalization.
Thanks for reading.
If you like the article, consider sharing and subscribing. ;)